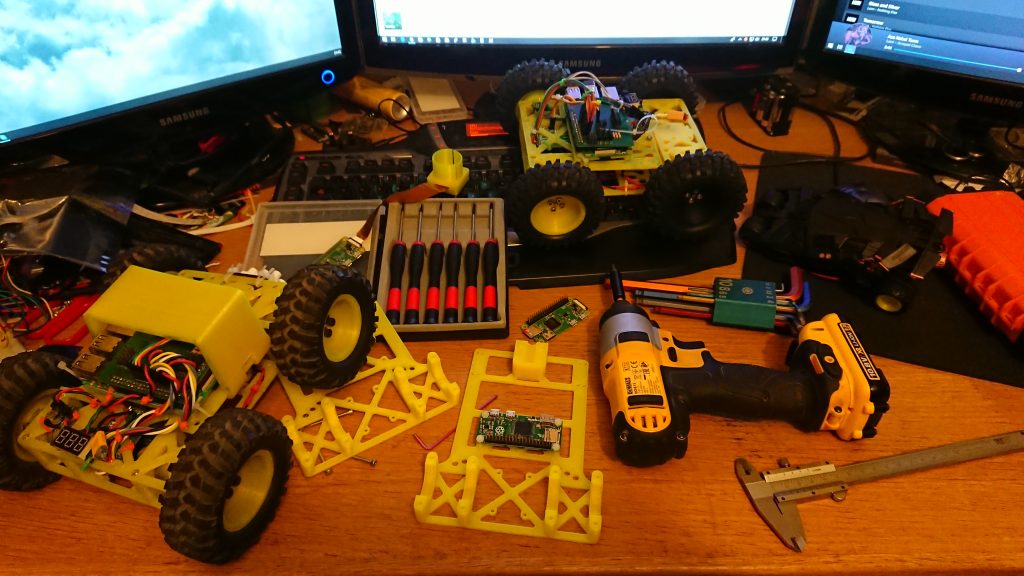
After analysing previous years results and issues, I already have ideas for the next Piwars (*assuming there will be one).I really want to get the Pi in between the chassis plates as 2018’s version had it exposed on top. During testing it would wheelie and endo onto its roof putting the Pi and its GPIO pins at risk. That’s why we hastily 3D printed a clip on roof. It was ugly, but served its purpose well.
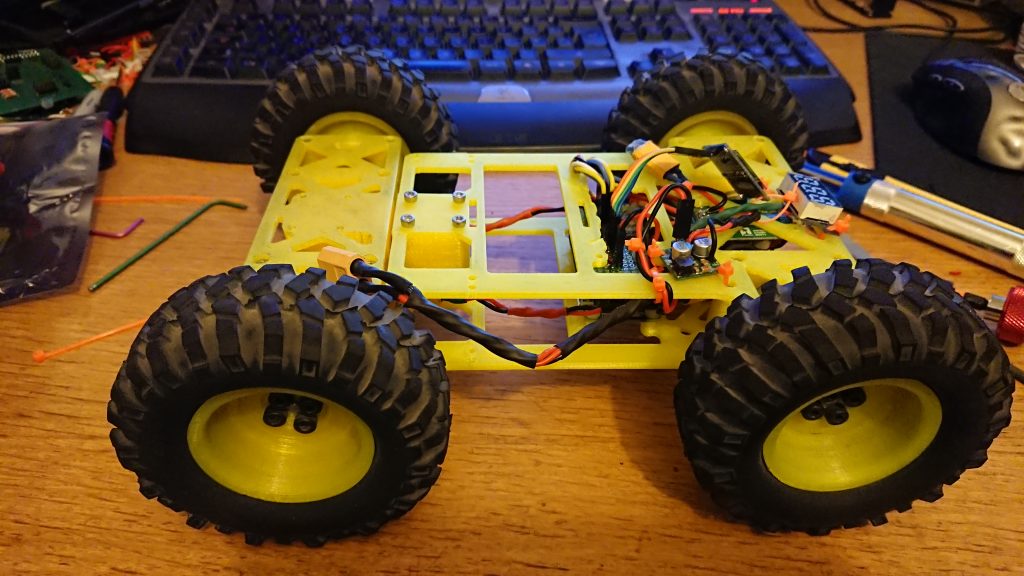
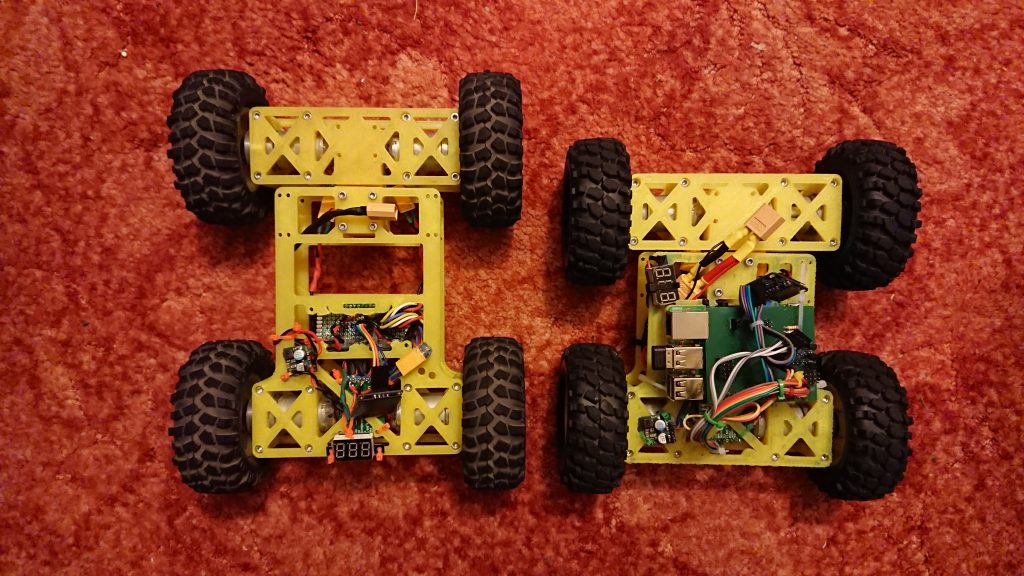
Stage one was to find out how to move the Pi. In v3’s configuration, there wasn’t enough room. However, we noticed the ground contact points on the tires weren’t square. In fact the it was wider than it was long which leads towards a skittish bot. I’ve now lengthened the wheelbase (hence why I’m nicknaming this version “stretch”) to make it square. I’ve switched to a Pi Zero W as it’s significantly smaller and more than powerful enough. We can always add a second modular Pi 3 to do vision tasks later.
The result of these changes is a bot that can be flipped and still drive upside down. I intend to add a tilt switch of some kind so the controls invert if upside down. I rushed the construction of Stretch as I wanted to have something ready to show at Potton Pi and Pints Cam jam. The video above shows the very first test driving showing off its flipping ability. It was getting late so that’s all I managed.
I have since managed to get some better testing/driving practice in:
It handles excellently! Off camera I was able to reliably perform long powered drifts on a dusty lino flooring. On camera, you can see the front/back articulation really coming into it’s own allowing it to easily climb kerbs. The lowered center of gravity (COG) means it can no longer wheelie onto it’s roof, but on carpet it can endo. Hopefully this will make Stretch even more competitive in PiNoon as the long metal pole with balloon on top attached to the front does cause stability issues (even on low to the ground bots) when making rapid direction changes.
Where am I going to go from here? I think a more refined chassis with purpose built internal mount points for the last few items that are still on top like the 5v regulator and mounting the screen inside facing the rear are a must. It was a constant pain on the day having to lean over the bot to read an upside down screen as the robot was always facing away for each challenge. From there, it would be nice to get a new Pi Zero sized bespoke breakout board for the motor controller connections, i2c pins and GPIO stuff as the proto board I knocked together is a little rough. As always, neater wiring is a must!